How to Build a QR Code Menu for Your Restaurant in Under an Hour
Updated:
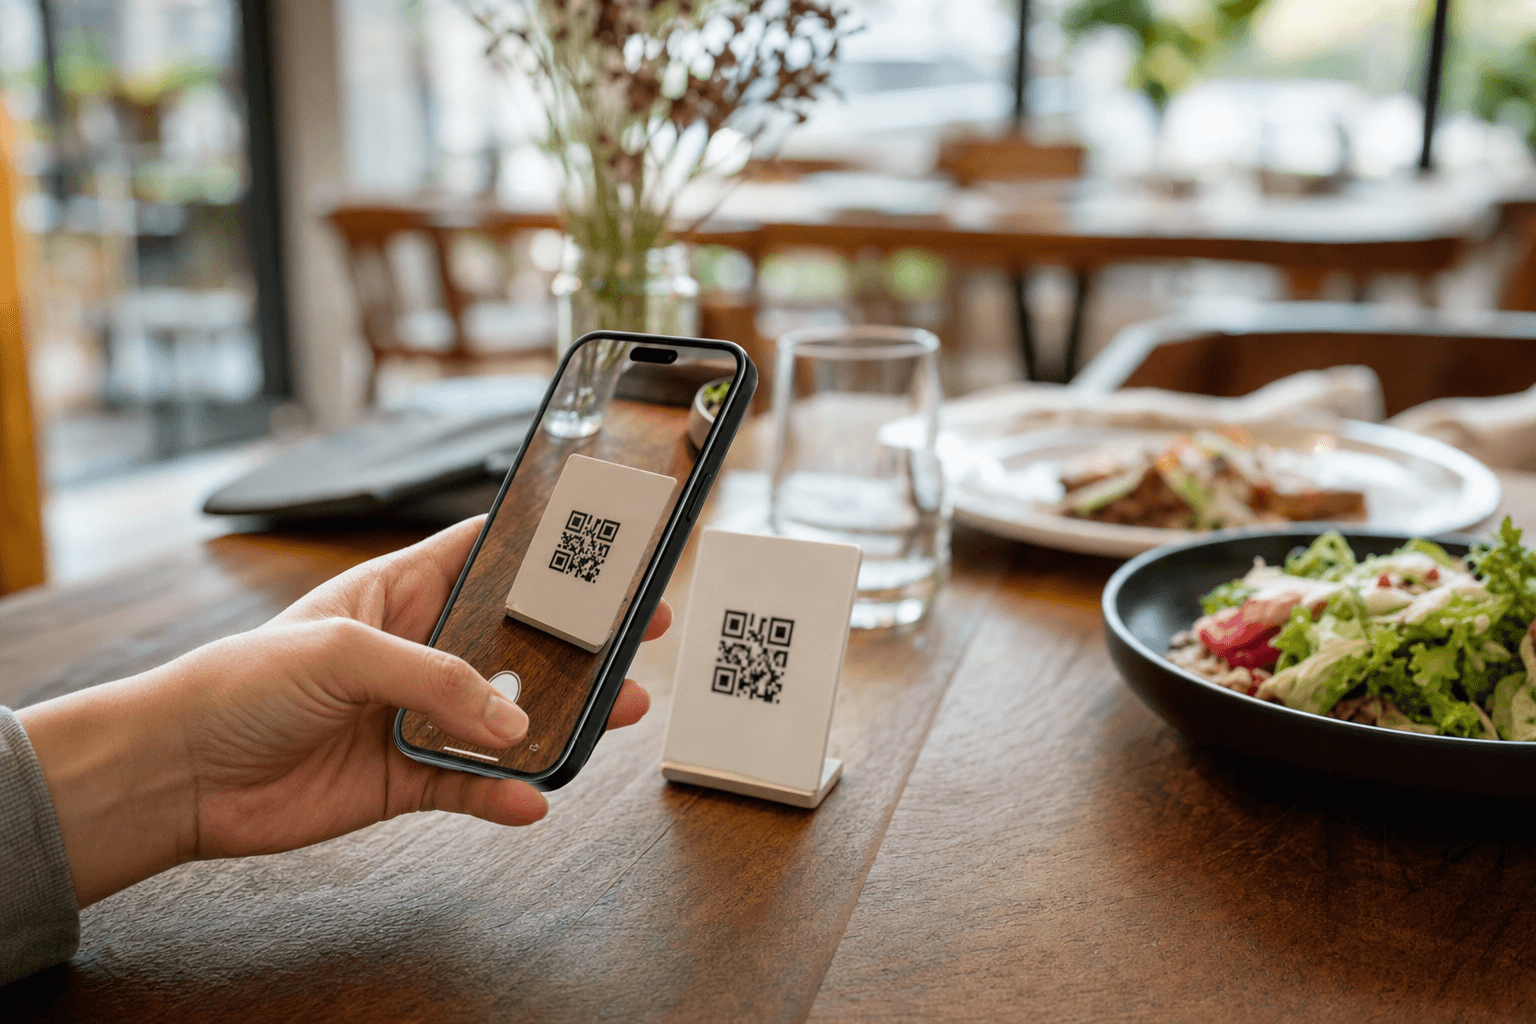
A QR code menu is one of the fastest, most practical upgrades you can make to your restaurant — and the good news is you don't need a developer, a designer, or a big budget to pull it off. If you have your menu content ready, you can have a live, scannable QR menu in front of your guests in under an hour. This guide walks you through every step.
Why Bother With a QR Code Menu?
Before diving into the how-to, it's worth being clear on what you actually gain. QR menus aren't just a pandemic-era workaround — they've become a genuine operational improvement for independent restaurants.
- Instant updates. Change a price, 86 an item, or add a daily special without reprinting anything. Your guests always see the current menu.
- Lower printing costs. Laminated paper menus wear out, get stained, and need replacing. A QR code card or table tent costs pennies and lasts indefinitely.
- Better guest experience. Guests can browse at their own pace, zoom in on descriptions, and see photos — all on the screen they're most comfortable with.
- Professional appearance. A clean, well-formatted digital menu signals that your restaurant takes presentation seriously.
If you're still handing out sticky laminated menus or directing guests to a PDF that's impossible to read on a phone, this is the upgrade worth making today.
What You Need Before You Start
Getting set up quickly depends on having a few things ready. Gather these before you open any tool:
- Your current menu content — item names, descriptions, and prices. A Word doc, spreadsheet, or even a photo of your printed menu works fine as a reference.
- Your logo — a PNG or JPG file, ideally with a transparent background.
- A few food photos — optional but strongly recommended. Even smartphone photos of your best dishes make a real difference.
- Your restaurant's name, address, and hours — you'll want these on the menu page.
That's it. You don't need to know anything about web design or QR code technology. The platform handles all of that.
Step 1: Create Your Digital Menu (15–20 Minutes)
The QR code is only as good as the menu it points to. Start by building the menu itself using an online menu maker that's built specifically for restaurants.
Choose a template
Don't start from a blank page. A good platform offers ready-made restaurant menu templates that already have the right layout, typography, and color structure. Pick one that fits your restaurant's vibe — a casual taco spot needs a different feel than a fine-dining bistro. You can always adjust colors and fonts after.
Set up your sections
Organize your menu the same way you would on paper: Starters, Mains, Sides, Desserts, Drinks — whatever categories fit your offering. Keep section names short and clear. Guests scan menus quickly; don't make them hunt.
Enter your items
For each item, add:
- Name — clear and consistent with what your staff calls it
- Description — one or two sentences focused on ingredients and flavor, not marketing language
- Price — formatted consistently (don't mix "$12" and "12.00")
- Photo — add one where you have it; skip rather than use a bad photo
- Dietary tags — vegan, gluten-free, contains nuts, etc. Guests appreciate this, and it reduces questions to your staff
Work section by section. For a typical 40–60 item menu, this takes about 15 minutes if your content is already organized.
Add your branding
Upload your logo, set your brand colors, and add your restaurant name. If the platform supports a header image or banner, use a good photo of your dining room or a signature dish. This is what guests see the moment they scan — make it look like you.
Step 2: Review and Publish Your Menu Page (5–10 Minutes)
Before generating the QR code, preview your menu on a mobile device. This is the view your guests will actually use. Check for:
- Typos in item names or prices
- Sections that appear in the wrong order
- Photos that look pixelated or cropped awkwardly
- Any items that are missing descriptions or prices
Once you're satisfied, publish the menu. This gives it a live URL — something like menuhoster.com/your-restaurant-name. That URL is what the QR code will point to. A well-structured digital menu that loads fast and looks clean on mobile is the foundation everything else rests on.
Step 3: Generate Your QR Code (2–5 Minutes)
If you're using MenuHoster, your QR code is generated automatically once your menu is live — no third-party QR tool needed. Download it as a high-resolution PNG or SVG file. SVG is preferred if you plan to print it large, since it scales without losing quality.
Key things to confirm about your QR code
- It's dynamic, not static. A dynamic QR code points to a URL that you can update later. If your menu URL ever changes, a dynamic code lets you redirect it without reprinting. A static code is locked to a single URL forever.
- It has enough contrast. Dark code on a light background scans reliably. Avoid low-contrast color combinations (like light gray on white) — they cause scan failures.
- It includes a call to action. The QR code alone doesn't tell guests what to do. Add a short line of text near it: "Scan to view our menu" or "Tap your camera to browse." This small addition meaningfully improves scan rates.
Step 4: Design and Print Your Table Display (10–15 Minutes)
The QR code needs to live somewhere guests will naturally see it. The most common formats are:
- Table tents — a folded card that stands upright on the table. Easy to make with a standard printer and cardstock.
- Stickers — applied directly to the table, menu holder, or hostess stand. Durable and low-profile.
- Acrylic or wooden stands — a more polished option for restaurants that want a premium look. Widely available online for a few dollars each.
- Printed insert cards — placed inside an existing menu cover or on the table alongside a small paper menu for guests who prefer it.
Minimum print size
The QR code itself should be at least 1 inch × 1 inch (2.5 cm × 2.5 cm) when printed. Smaller than that and some phones struggle to scan, especially in dim lighting. For a table tent, 1.5–2 inches is a comfortable size. For more detail on getting reliable prints, see our guide on how to print QR code menus that scan reliably every time.
Quick DIY table tent
If you want to get something on tables today without waiting for a print order:
- Open a Word or Google Docs document, set it to landscape orientation.
- Insert your QR code image, centered, roughly 2 inches square.
- Add your restaurant name above it and "Scan to view our menu" below it.
- Print on cardstock, fold in half, done.
It won't win a design award, but it works while you wait for a more polished version.
Step 5: Test Before You Deploy (5 Minutes)
This step takes five minutes and saves you from a bad guest experience. Before the printed codes go on tables:
- Scan the printed QR code (not the digital version on your screen) with at least two different phones — an iPhone and an Android if possible.
- Confirm the menu loads correctly and quickly on both.
- Test in the actual lighting conditions of your dining room. Restaurant lighting is often dim; make sure the code still scans.
- Click through a few items to confirm photos and descriptions display properly.
If a code fails to scan when printed, the most common culprits are: too small, too low contrast, or a blurry print. Fix the issue before putting codes on every table.
Step 6: Brief Your Staff (5 Minutes)
Your team needs to know how to talk about the QR menu and how to help guests who aren't comfortable with it. A quick pre-shift briefing covers:
- How to scan a QR code (for guests who ask)
- What to do if a guest's phone won't scan — have a printed backup or know the menu URL to type in manually
- How to answer "Is there a regular menu?" — yes, keep a few printed menus available for guests who prefer them
For a more thorough staff rollout, the guide on how to roll out QR menus to your staff and train them covers everything from talking points to handling resistance.
Keeping Your Menu Current
One of the biggest advantages of a digital menu is how easy updates are. When you need to change a price, add a seasonal dish, or remove something you've run out of, log into your dashboard, make the edit, and save. The change is live instantly — no reprinting, no crossing items out, no apologizing to guests.
Build the habit of reviewing your menu once a week. Check that prices are accurate, that sold-out items are hidden, and that any seasonal specials are current. This takes less than five minutes when you're doing it regularly. A stale digital menu is just as bad as a stale printed one — the technology only helps if you maintain it.
Common Mistakes to Avoid
- Linking to a PDF. A PDF menu is not a QR menu. PDFs are slow to load, impossible to read on a small screen without zooming, and can't be updated without re-uploading. Use a proper hosted menu page instead.
- Using a static QR code. If your menu URL ever changes, a static code becomes a dead link. Always use dynamic codes.
- No fallback for guests without smartphones. A small percentage of your guests — often older diners — won't have a smartphone or won't be comfortable scanning. Keep a few printed menus on hand. No guest should feel excluded.
- Skipping the call to action. A bare QR code with no context confuses guests. Always add a short instruction nearby.
- Ignoring mobile load speed. If your menu page takes more than three seconds to load on a mobile connection, guests will give up. Use a platform optimized for mobile performance, and don't overload your menu with huge uncompressed images.
Your QR Menu as Part of a Bigger Digital Presence
A QR menu doesn't have to stop at the table. Once you have a live, hosted menu page, you can share that URL everywhere: your Instagram bio, your Google Business Profile, Facebook page, and any delivery platform listings. Guests can browse your menu before they even walk in the door.
If you want to go further, a hosted restaurant menu page can serve as the foundation of a simple web presence — covering what a basic website would do, at a fraction of the cost and complexity. That's a meaningful step for independent operators who don't have the budget or time for a full custom website.
Frequently Asked Questions
Do guests need to download an app to scan a QR code menu?
No. Modern iPhones (iOS 11 and later) and most Android phones (Android 8 and later) can scan QR codes directly with the built-in camera app. No additional app is required. Guests simply open their camera, point it at the code, and tap the notification that appears.
What happens if the internet goes down in my restaurant?
If your guests are on your Wi-Fi and your internet goes down, they won't be able to load the menu. This is a real edge case, but worth planning for: keep a small stack of printed menus as a backup, and make sure your staff knows where they are. Most QR menu issues in practice come from poor cell signal rather than full outages — placing QR codes near windows or areas with better signal can help.
Can I use a QR code menu alongside a printed menu?
Absolutely, and for most restaurants this is the right approach — at least initially. Offer the QR menu as the primary option and keep a few printed menus for guests who prefer them. Over time, as guests get used to it, you can reduce the number of printed menus in circulation.
How do I update my menu after it's live?
Log into your MenuHoster dashboard, navigate to your menu, make your changes, and save. Updates are reflected immediately — no need to generate a new QR code or reprint anything. This is one of the core advantages of a dynamic, hosted menu over a static PDF or printed menu.
Is a QR code menu secure?
The menu page itself is publicly accessible — which is intentional, since you want guests to be able to view it. The security considerations are around your admin account (use a strong password and don't share login credentials with everyone) and ensuring the URL your QR code points to is your own hosted page, not a third-party redirect that could be hijacked. Using a reputable platform with dynamic codes managed through your own account keeps things secure.
Ready to get your QR menu live today? Try MenuHoster's online menu maker — it's built for independent restaurants, takes no technical skill to use, and gets you from blank page to scannable QR code in under an hour. Check out our pricing page to find the plan that fits your operation.
MenuHoster Team
Helping restaurants go digital