How to Print QR Code Menus That Scan Reliably Every Time
Updated:
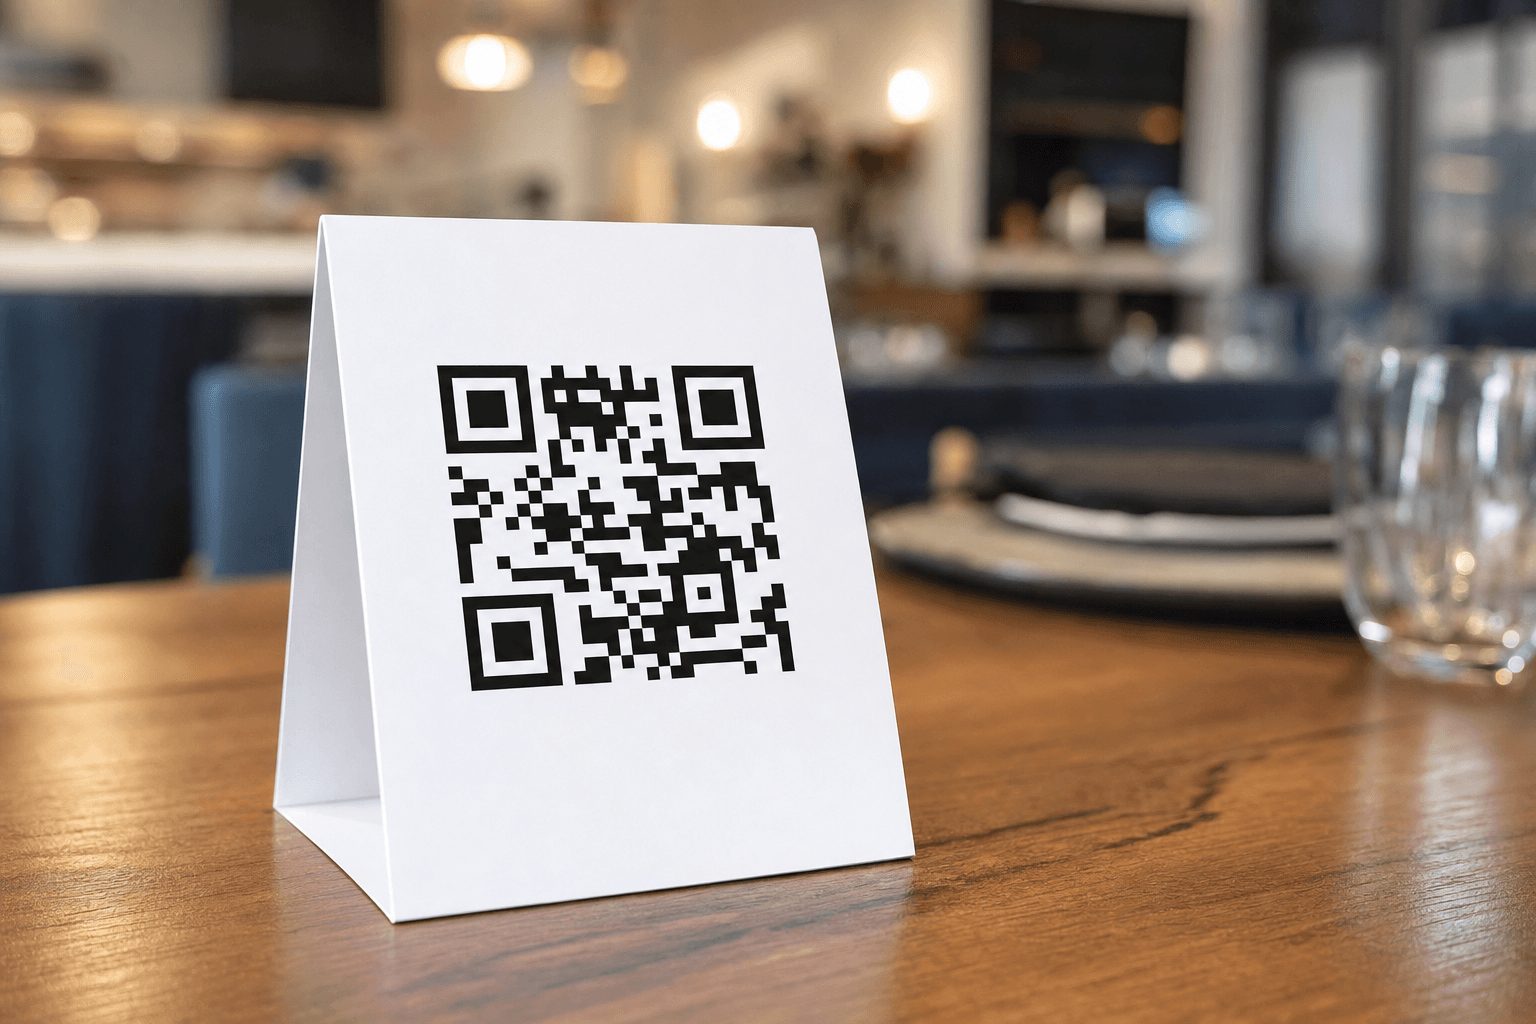
A QR code menu only works if guests can actually scan it. That sounds obvious, but walk into almost any restaurant that rolled out QR menus in the past few years and you'll find at least one table with a code that takes three attempts, a code that's been scratched off a laminated card, or a tiny square printed so small that phones struggle to lock on. Each failed scan is a small frustration that chips away at the experience you've worked hard to build.
The good news: printing QR codes that scan reliably is not complicated. It comes down to a handful of decisions—size, contrast, material, placement, and the type of QR code you use. Get those right and your guests will be browsing your contactless menu within seconds of sitting down.
Start With a Dynamic QR Code, Not a Static One
Before you think about ink or paper stock, think about what kind of QR code you're printing. There are two types:
- Static QR codes encode the destination URL directly into the pattern. Change the URL and you have to reprint every code.
- Dynamic QR codes encode a short redirect URL. You can update where that redirect points at any time without touching your printed materials.
For a restaurant menu, dynamic is the only sensible choice. Your menu will change. Prices shift, dishes rotate, seasonal specials come and go. With a dynamic code, you update the menu online and every printed code in the building instantly points to the new version. No reprinting, no wasted materials.
There's a technical bonus too: dynamic QR codes tend to have less visual complexity (fewer dots) than static ones encoding a long URL. A simpler pattern is easier for phones to decode, especially in low light. When you use a platform like MenuHoster's QR code menu generator, you get a dynamic code tied to your hosted menu page by default—no extra setup required.
Nail the Minimum Size
Size is the single most common reason QR codes fail to scan. Phones need enough pixels in the viewfinder to resolve the pattern. Print too small and the camera simply can't find enough detail.
The practical minimum
For a printed QR code that guests will scan from a natural seated or standing distance of roughly 8–18 inches, follow these guidelines:
- Table cards and tent cards: minimum 1.5 inches × 1.5 inches (about 38mm × 38mm). Bigger is better—2 inches is a comfortable target.
- Posters and window clings: scale up proportionally. A code meant to be scanned from 3 feet away should be at least 4–5 inches square.
- Receipts and small stickers: these are the trickiest. Don't go below 1.2 inches, and always test before printing a full run.
The 10:1 rule of thumb
A widely used guideline in print production: the side length of your QR code (in inches) should be at least one-tenth of the maximum scanning distance (in inches). Scanning from 20 inches away? Print the code at least 2 inches wide. This isn't a hard physical law, but it's a reliable starting point.
Always export at high resolution
Download your QR code as an SVG or high-resolution PNG (at least 300 DPI for print). Never screenshot a QR code from a browser or phone screen—the resolution will be too low and the printed result will look pixelated, which reduces scan reliability. Most QR menu platforms provide a download option specifically formatted for print; use it.
Contrast Is Non-Negotiable
QR codes work by the camera distinguishing dark modules (squares) from a light background. Reduce that contrast and decode rates drop fast.
The safe default: black on white
Classic black on white gives the highest possible contrast and scans reliably across all phone cameras, including older models. If you're not sure what will work, use this combination.
Branded colors: proceed carefully
You can use your brand colors—dark modules in your brand's dark color, light background in a complementary light tone—but you must maintain sufficient contrast. A general rule: the dark color should have a luminance value at least 40% lower than the light background. Dark navy on cream works. Medium gray on light gray does not. Always test a printed sample before ordering a full run.
What to avoid
- Light-colored modules on a white or near-white background
- Gradient fills across the QR pattern
- Placing the code over a busy photographic background without a solid white "quiet zone" border
- Inverting the code (white modules on black)—some cameras handle this, but many don't
The quiet zone matters
Every QR code needs a clear margin of blank space around it—called the "quiet zone." The standard is four modules wide on all sides. In practice, add at least 3–4mm of white space between the code's edge and any surrounding text, borders, or design elements. Cutting into the quiet zone is a common mistake when fitting codes into tight card layouts.
Choose the Right Material and Finish
The substrate you print on affects scan reliability more than most operators realize.
Paper stock
Standard 80–100 lb matte cardstock is the workhorse option. It's affordable, prints cleanly, and scans well. Avoid very thin paper (it warps and tears) and very textured paper (the surface roughness can distort fine dot patterns).
Lamination
Laminating table cards protects them from spills and extends their life significantly—worth doing for codes that will sit on tables every service. However, use matte lamination, not gloss. Gloss laminate creates reflections and hotspots under restaurant lighting that can interfere with camera autofocus and reduce scan rates. If you've ever watched a guest tilt a laminated card back and forth trying to get a scan, gloss laminate is usually the culprit.
Vinyl stickers and decals
These work well for table surfaces, window clings, and outdoor use. Use white vinyl with matte finish. Avoid clear/transparent vinyl—without a white background, contrast suffers badly.
Outdoor and patio settings
For outdoor tables, UV-resistant materials and weatherproof lamination are essential. Direct sunlight creates extreme glare on glossy surfaces. Matte, UV-laminated prints or outdoor-rated vinyl hold up best. See our deeper guide on QR code menu best practices for outdoor and patio dining for more on this specific scenario.
Placement and Physical Setup
Even a perfectly printed QR code fails if it's placed poorly.
Flat and stable is best
Codes on flat surfaces scan faster than codes on curved or angled surfaces. Table tent cards work well because they hold the code at a consistent angle. Avoid wrapping codes around cylindrical objects like condiment bottles—the distortion makes decoding much harder.
Height and angle
Place codes so a seated guest can hold their phone naturally—roughly 8–15 inches above the table—and point it directly at the code without awkward angles. Codes mounted vertically on a wall behind a table are harder to scan because the guest has to hold their phone at an extreme angle.
Lighting
Most modern phone cameras handle low light well, but very dim restaurant lighting (under about 50 lux) can slow down scanning. If your dining room is intentionally dark, consider small dedicated lighting—a candle, a focused accent light—near the code, or use a slightly larger print size to compensate.
One code per table, clearly labeled
Add a short instruction line near the code: "Scan to view our menu" or "Point your camera here to order." It sounds unnecessary, but a surprising number of guests—especially older diners—aren't sure whether to use a dedicated app or just their camera. A one-line prompt removes the hesitation.
Test Before You Print a Full Run
This step is skipped constantly, and it's the one that causes the most problems.
- Print one copy first. Use the exact printer, paper, and finish you plan to use for the full run.
- Test with multiple devices. An iPhone 11, a mid-range Android, and an older Android if you have access to one. Scan rates vary across camera systems.
- Test in your actual lighting conditions. Scan the code at your tables, in the evening with your usual lighting setup—not at your desk in daylight.
- Test from a natural distance. Don't hold the phone 4 inches from the code. Simulate what a real guest would do.
- If anything feels slow or uncertain, fix it before printing 50 copies.
Common fixes at this stage: increase the print size by 25%, switch from gloss to matte lamination, or increase the contrast of a branded color scheme.
Common Printing Mistakes and How to Fix Them
- Printing from a PDF at screen resolution: Always export QR code assets at 300 DPI or higher for print. If your design software is placing a low-res PNG, replace it with an SVG.
- Compressing the image in a design template: Some online design tools (Canva, etc.) compress uploaded images. Download the highest-quality export available, and check the final file before sending to print.
- Scaling down a code that was generated at a fixed pixel size: If your QR generator gives you a 200×200 pixel PNG and you scale it to 0.5 inches in your layout, the printed result will be blurry. Use SVG format or regenerate at a higher resolution.
- Forgetting to test the link: Before anything goes to print, scan the code and confirm it loads your actual menu—not a 404 page, not a login screen, not a placeholder. This is especially important if you've recently migrated your menu to a new URL.
- Using a static code for a menu that changes: As covered above, this locks you into reprinting every time you update. Switch to a dynamic code now and save yourself the recurring cost. If you've already printed static codes, read our guide on how to update your QR menu without reprinting the code.
A Quick Print Checklist
Run through this before sending any QR code asset to a printer:
- ☐ Dynamic QR code (not static)
- ☐ Exported as SVG or 300 DPI+ PNG
- ☐ Minimum 1.5 inches × 1.5 inches for table use
- ☐ High contrast (dark modules on light background)
- ☐ Quiet zone intact on all four sides
- ☐ Matte finish (not gloss) if laminating
- ☐ "Scan to view menu" instruction text included
- ☐ Tested on at least two different phone models
- ☐ Tested in actual venue lighting
- ☐ Link confirmed to load the correct menu page
Pairing Printed Codes With a Great Digital Menu
A reliable scan is only the first step. Once guests land on your menu, it needs to load fast, look good on mobile, and be easy to navigate. A well-structured digital menu with clear categories, photos, and dietary labels does the heavy lifting from there. If you're still sending guests to a PDF, consider upgrading—PDFs are slow to load, hard to read on phones, and impossible to update without re-uploading. A hosted menu page solves all three problems.
If you're starting from a PDF, the fastest path is to use a PDF-to-QR-code menu converter to get a scannable version live quickly, then refine from there.
Frequently Asked Questions
What is the minimum size for a QR code on a restaurant table card?
For scanning at typical seated distances (8–18 inches), print your QR code at a minimum of 1.5 inches × 1.5 inches. A 2-inch square is a safer target that accommodates a wider range of phones and lighting conditions. Always test a physical print before ordering a full run.
Why does my QR code scan fine on my phone but not on customers' phones?
Different phones have different camera sensors and QR decoding software. iPhones and recent Android flagships are generally more capable in low light and at small sizes. If older or mid-range Android devices struggle with your code, increase the print size, improve contrast, or switch from gloss to matte lamination to reduce glare.
Should I use gloss or matte lamination for QR code table cards?
Matte lamination every time. Gloss laminate reflects overhead and ambient restaurant lighting, creating hotspots that interfere with camera autofocus and reduce scan success rates. Matte lamination protects the card from spills equally well without the reflection problem.
Can I use a branded or colored QR code, or does it have to be black and white?
You can use branded colors as long as you maintain strong contrast between the dark modules and the light background. Dark navy, forest green, or deep burgundy on a white or cream background all work well. Avoid medium-tone colors, gradients across the pattern, or placing the code over a photographic background without a solid white border.
How often do I need to reprint QR code menus?
If you're using dynamic QR codes (which you should be), you only need to reprint when the physical cards wear out or when you want to update the card design. The code itself stays the same—you just update your menu online and the existing printed codes automatically point to the new content. With durable matte-laminated cardstock, table cards can last 6–12 months under normal restaurant use.
Ready to set up QR code menus that work flawlessly from day one? Create your free QR code menu on MenuHoster and get a print-ready dynamic code, a fast-loading mobile menu, and the ability to update your menu anytime—without ever reprinting a thing. It takes less than ten minutes to get started.
MenuHoster Team
Helping restaurants go digital