From Paper to QR: A 7-Day Rollout Plan for Your Restaurant
Updated:
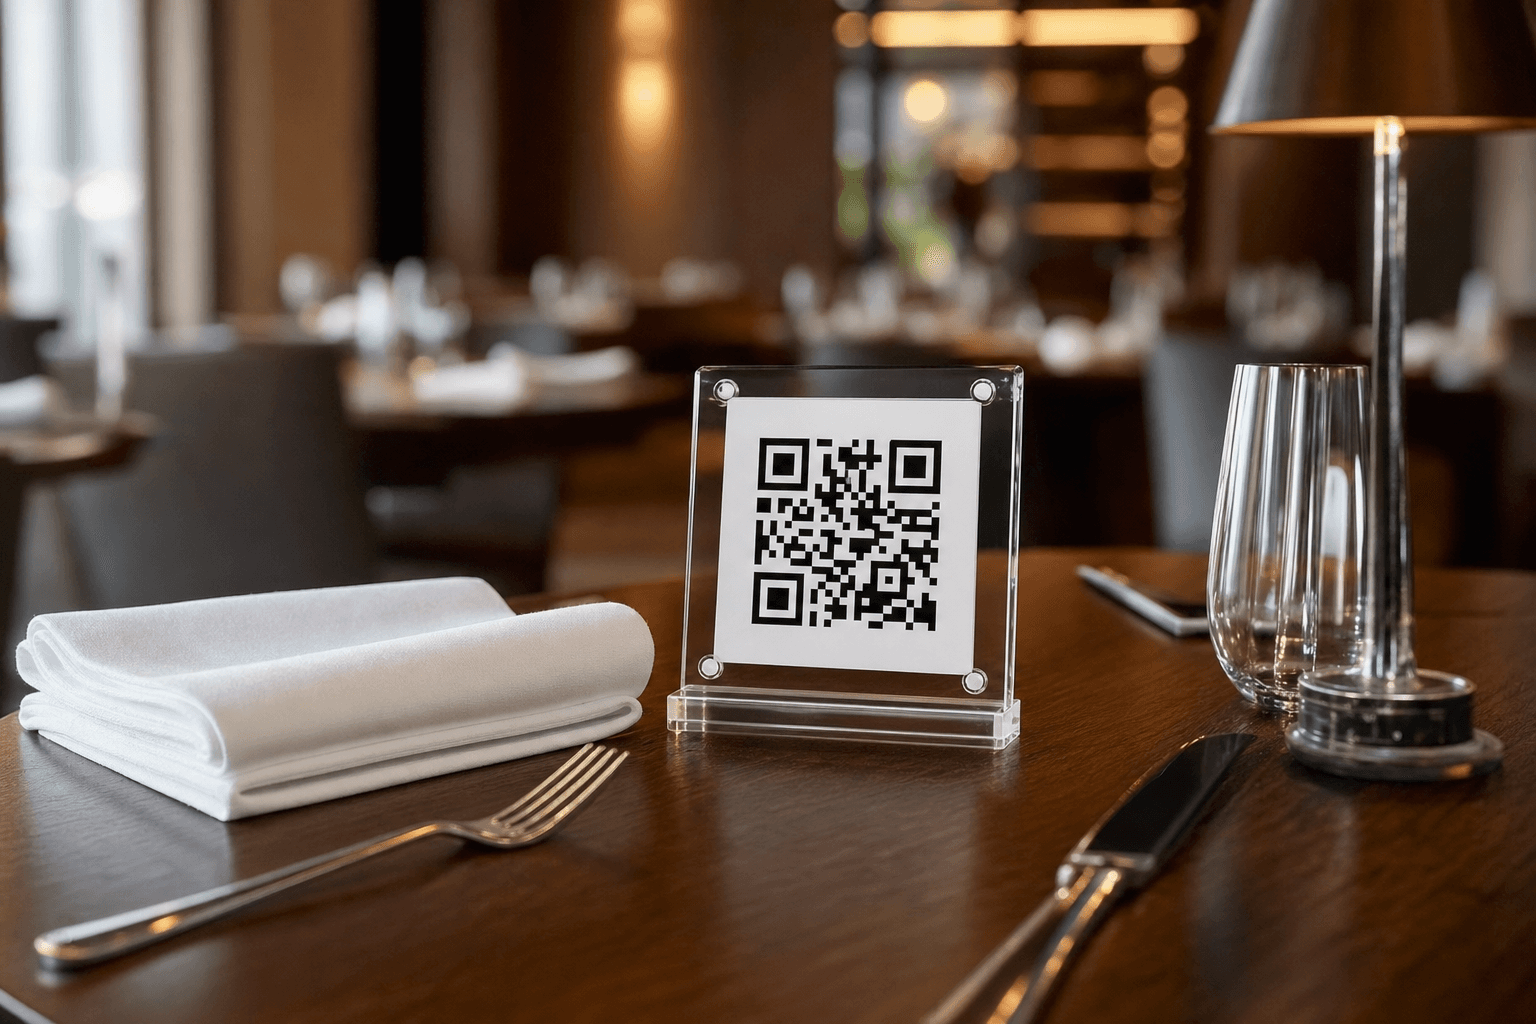
Switching from laminated paper menus to QR codes sounds simple — and it genuinely can be. But without a clear plan, small details pile up: staff aren't trained, the codes don't scan reliably, guests are confused, and the whole thing quietly gets abandoned after a week. This guide gives you a concrete, day-by-day action plan to go from paper menus to a fully live QR menu in seven days, without disrupting service or frustrating your team.
Why Bother Switching at All?
Before diving into the plan, it's worth being honest about what you're actually gaining. QR menus aren't magic, but they do solve real problems:
- Printing costs disappear. A mid-size restaurant can spend $500–$2,000 a year reprinting menus after price changes, seasonal updates, or damage. With a digital menu, updates are instant and free.
- Hygiene is a genuine selling point. A large share of diners still prefer not handling shared menus. QR codes address that without requiring a conversation.
- You can update on the fly. Ran out of the salmon? Hide it in 30 seconds. Adding a weekend special? It's live before the first table sits down. Learn more about how a digital menu keeps your offerings current.
- It opens the door to online ordering. Once your menu is digital, adding takeout or delivery ordering is a much smaller step.
The goal this week is not perfection — it's a working system that your staff can support and your guests can use without friction.
Day 1: Audit Your Current Menu and Make Key Decisions
Before you touch any software, spend Day 1 getting clarity on what you actually want your digital menu to contain and how it should be structured.
Inventory your existing menu
Pull out every version of your current menu — lunch, dinner, drinks, desserts, specials boards. List every section and every item. This is also a good moment to cut dead weight: items that rarely sell, dishes that are hard to plate consistently, or prices that are embarrassingly out of date. A digital menu is only as good as the content inside it.
Decide on your menu structure
Will you have one unified menu, or separate menus for lunch and dinner? Will drinks be their own QR code or folded into the main menu? Simpler is almost always better for a first rollout. You can always add complexity later.
Choose your platform
Pick a platform that lets you build and edit your menu without needing a developer. Look for one that generates a scannable QR code automatically, hosts the menu on a reliable URL, and lets you make updates instantly. MenuHoster's QR code menu generator handles all of this in one place. Sign up today so you're ready to build tomorrow.
Day 2: Build Your Digital Menu
This is your main content day. Block out two to three hours, put on some music, and work through the menu methodically.
Enter every item with care
Don't just copy-paste from your old menu and call it done. This is your chance to improve descriptions, add allergen notes, and flag popular or signature dishes. A good item description does two things: it helps guests make a decision faster, and it nudges them toward higher-margin items. Keep descriptions concise — two sentences is usually enough.
Add photos where you have them
You don't need professional photography for every dish. Even clean, well-lit phone photos of your top five or ten items will increase engagement. Dishes with photos consistently outsell those without. If you don't have photos yet, add them later — don't let it block you from launching.
Set up sections and categories
Organize your menu the way a guest would naturally read it: starters, mains, sides, desserts, drinks. If you have a long drinks list, break it into sub-categories (cocktails, wine, beer, non-alcoholic). Clear structure reduces decision fatigue and speeds up ordering.
Preview on mobile
The vast majority of your guests will view the menu on a smartphone. Before you move on, pull up the menu on your own phone and scroll through it critically. Is the text readable? Do the photos load quickly? Is anything cut off or awkwardly formatted? Fix it now rather than on opening night.
Day 3: Generate and Test Your QR Codes
A QR code is only useful if it scans reliably. Day 3 is about generating your codes and stress-testing them before they go anywhere near a table.
Generate your QR code
Your menu platform should generate a QR code automatically once your menu is published. Download it in a high-resolution format (SVG or PNG at 1000px minimum) so it can be scaled up for printing without becoming blurry.
Test across multiple devices
Scan the code with at least three different phones: an iPhone using the native camera, an Android using the native camera, and one using a dedicated QR scanner app. Make sure the menu loads quickly and displays correctly on each. If anything looks broken on one device, investigate before printing.
Test scan distance and lighting
Take your printed or on-screen code to your actual dining room and test it under your real lighting conditions. Dim restaurant lighting, glossy laminate, and small print sizes are the three most common reasons QR codes fail in the field. Aim for a minimum print size of 1.5 inches × 1.5 inches, and avoid placing codes under direct spotlights that create glare. For more detail on this, see our guide on how to print QR code menus that scan reliably every time.
Set up a fallback URL
Every QR code should have a plain-text URL that guests can type in manually if the scan fails. Print this URL small but legibly beneath the QR code. It's a simple safety net that prevents a bad guest experience if someone's camera is struggling.
Day 4: Design and Order Your Table Materials
How the QR code is presented at the table matters more than most owners expect. A code printed on a scrap of paper taped to the table sends a very different signal than a clean acrylic stand or a well-designed tent card.
Choose your display format
Common options include:
- Tent cards: Inexpensive, easy to print in-house, work well for most casual dining settings.
- Acrylic stands: More durable and professional-looking. Worth the investment for upscale or high-traffic venues.
- Stickers on the table or menu cover: Minimalist and low-cost, but harder to replace if the code changes.
- Printed inserts in existing menu covers: A good hybrid option if you want to keep physical menus for guests who prefer them.
Design your card or stand
Keep the design clean. Include your restaurant name or logo, the QR code itself, a one-line instruction ("Scan to view our menu"), and the fallback URL. Don't crowd the card with unnecessary text. If you're printing in-house, use a laser printer rather than inkjet for sharper, more scannable codes.
Order or print enough for every table plus spares
Count your tables, add 20% for replacements and bar seating, and order or print accordingly. If you're ordering from a print shop, factor in 2–3 days for turnaround. If printing in-house, do it today so materials are ready before your staff training on Day 5.
Day 5: Train Your Staff
This is arguably the most important day of the rollout. A QR menu that your servers don't understand or believe in will fail regardless of how well it's built. Staff training doesn't need to be long — 20 to 30 minutes is usually enough — but it needs to cover the right things.
Show them the menu as a guest would see it
Have every front-of-house staff member scan the code and browse the menu on their own phone. Let them explore it. Ask for feedback. If something is confusing to them, it will be confusing to guests.
Prepare them for common guest questions
Some guests — particularly older diners — will be unfamiliar with QR codes or reluctant to use them. Train your staff to offer a brief, friendly explanation: "Just point your phone camera at the code and the menu pops right up." Rehearse this until it sounds natural, not scripted.
Decide on your paper menu policy
Will you keep a small number of paper menus for guests who genuinely can't or won't use a QR code? There's no shame in this — it's good hospitality. Just make sure staff know where they are and when to offer them without making it feel like a big deal. For a deeper look at staff preparation, read our full guide on how to roll out QR menus to your staff and train them.
Day 6: Soft Launch — Run One Full Service With QR Menus
Don't flip the switch during your busiest service of the week. Choose a quieter shift — a Tuesday lunch, a slow weeknight — and run QR menus as your primary option for the first time.
Station someone to assist
For this first service, have one staff member whose job includes watching for guests who seem confused at the table. A quick, proactive offer of help ("Can I show you how to pull up the menu?") turns a frustrating moment into a positive interaction.
Watch for friction points
Note every moment where the system doesn't work as expected. Did the code fail to scan at a particular table because of a lighting issue? Did a section of the menu confuse guests? Did staff revert to describing dishes verbally because something was missing from the digital menu? Write these down — they're your fix list for Day 7.
Collect informal feedback
Ask a handful of guests directly: "How was the menu for you — easy to use?" Most people will give you an honest answer. Don't be defensive about negative feedback; it's exactly what you need before you fully commit.
Day 7: Fix, Refine, and Fully Commit
Take the notes from Day 6 and work through them systematically. Most fixes will be small: a missing item, a confusing category name, a code placement that needs to move. Make every change, then re-test.
Update your menu for the week ahead
If you have weekly specials or rotating dishes, add them now. This is the first real demonstration of the core benefit of a digital menu: it takes two minutes to update, and the change is live immediately.
Remove or retire the bulk of your paper menus
Keep a small reserve (10–15% of your table count) for accessibility purposes. Everything else can be stored or recycled. You no longer need to reprint when prices change or dishes rotate.
Consider adding online ordering
Now that your menu is live and working, adding online ordering is a natural next step. A digital menu and an ordering system share the same infrastructure — your menu is already built, and adding a way for guests to order ahead or for takeout requires very little additional setup. Explore how online ordering works on MenuHoster to see if it makes sense for your operation.
What to Expect After Launch
The first week after a full rollout is usually the noisiest. Some staff will need reminders. A few guests will ask for paper. You'll spot a typo you missed. This is all normal. By week three, QR menus will feel routine to everyone — staff included.
The ongoing benefits compound over time. Every menu update that used to cost you a trip to the printer now takes minutes. Every time you add a photo or sharpen a description, you're improving the guest experience at zero marginal cost. And if you've connected your menu to online ordering, you're generating revenue from a channel that didn't exist before.
Frequently Asked Questions
Do I need to completely eliminate paper menus?
No, and you probably shouldn't. Keep a small number of paper or printed menus available for guests who have difficulty using a smartphone — whether due to age, accessibility needs, or personal preference. Good hospitality means meeting guests where they are. The goal is to make QR menus your default, not your only option.
What if my restaurant has poor Wi-Fi or cell service?
This is a real concern worth testing before you launch. Walk every corner of your dining room with your phone on cellular data (Wi-Fi off) and try loading your menu. If signal is weak in certain areas, consider offering your Wi-Fi password alongside the QR code. For more on this topic, see our article on whether guests need your Wi-Fi network to use a QR menu.
How often should I update my digital menu?
At minimum, update it whenever prices change, items are added or removed, or seasonal specials rotate. Many operators find they update their digital menu weekly — something that would have been cost-prohibitive with printed menus. The lower the friction to update, the more current your menu will be.
What size should I print the QR code?
A minimum of 1.5 inches × 1.5 inches for table cards, and at least 2 inches × 2 inches if the code will be viewed from more than a foot away. Always test the printed code before deploying it across all tables. Blurry or undersized codes are the number-one cause of scan failures.
Can I use a QR menu if I already have a website?
Absolutely. A QR menu and a restaurant website serve different purposes. Your website handles discovery — people finding you on Google or checking your hours before they visit. Your QR menu handles the in-dining experience. They work well together, and many restaurants link from their website menu page directly to their digital menu.
Ready to make the switch? Create your QR code menu on MenuHoster in minutes — no design skills or technical knowledge required. Build your menu, generate your code, and have everything ready to test before the end of the day. Your first update is free, and you'll never pay a printer to reprint a menu again.
MenuHoster Team
Helping restaurants go digital