How to Convert a Printed PDF Menu Into a Digital Menu in Minutes
Updated:
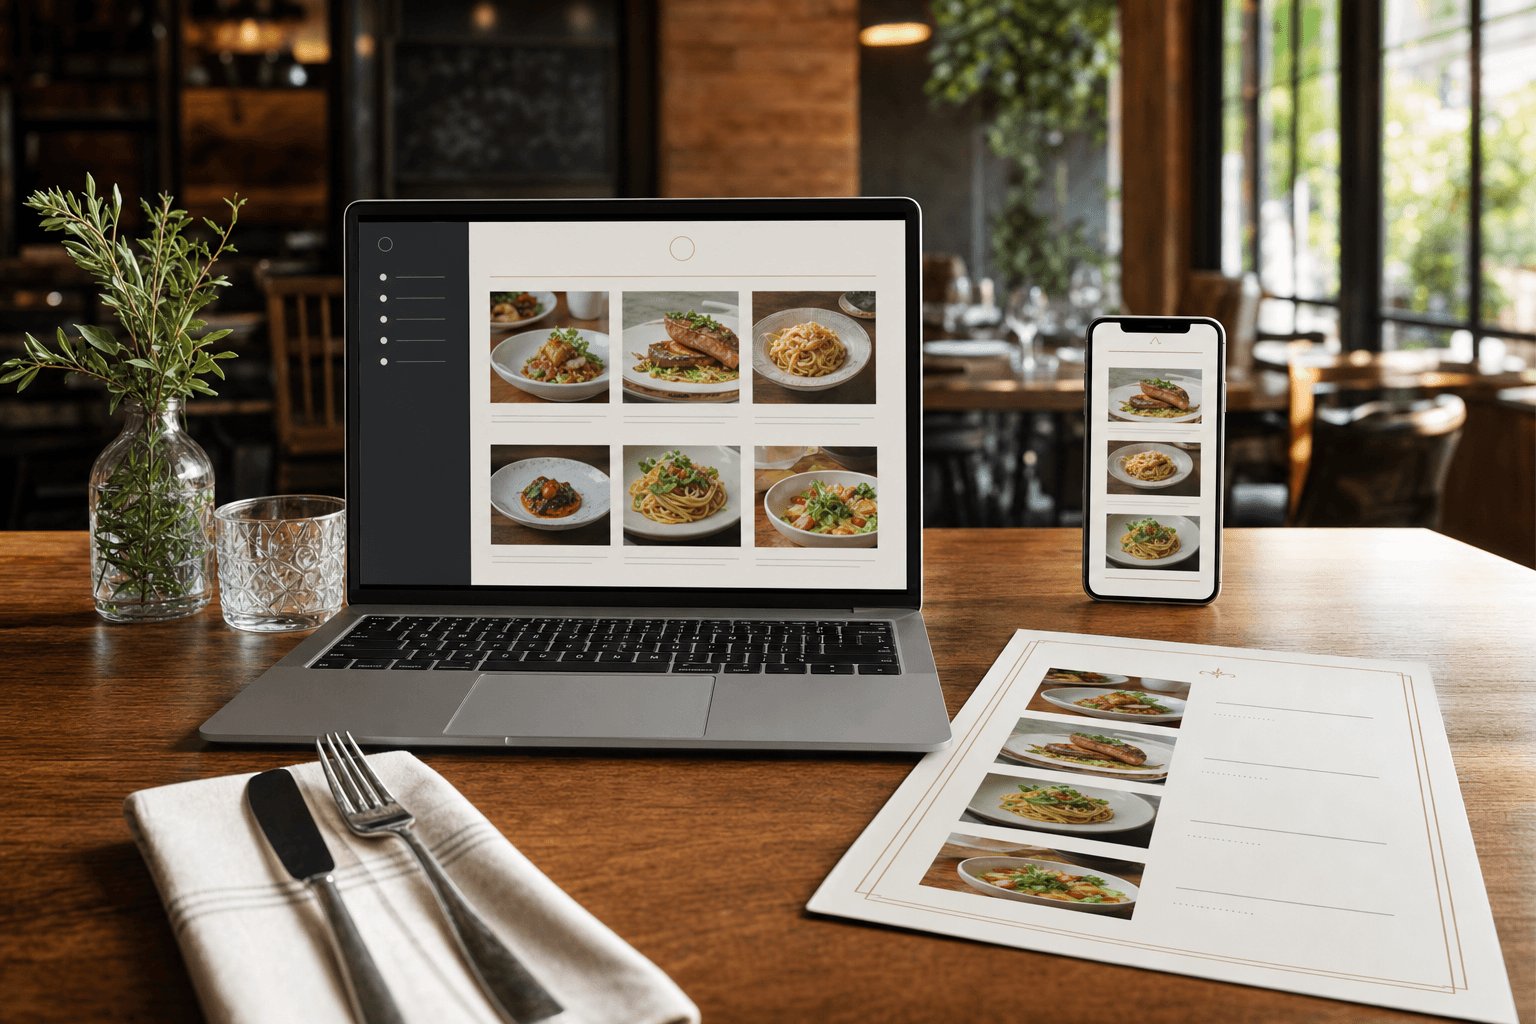
Why Converting Your PDF Menu Is Worth Doing Today
Most independent restaurants already have a menu — it's a PDF sitting on a laptop, a shared Google Drive folder, or attached to an email chain from the last time the printer needed the file. The problem is that a PDF is a dead end. Customers can't easily browse it on their phones, you can't update a price without re-exporting and re-sending the file, and it does nothing for your Google search visibility.
A true digital menu — one that lives at a real URL, loads fast on any smartphone, and can be updated in seconds — solves all of those problems. And the good news is that if you already have a PDF, you're not starting from zero. You have your content. You just need to move it into the right format.
This guide walks you through exactly how to do that, step by step, without hiring a designer or a web developer.
PDF Menu vs. Digital Menu: What's the Actual Difference?
Before diving into the process, it helps to be clear on what you're converting to.
- A PDF menu is a static document. It was designed to be printed or emailed. When someone opens it on a phone, they're pinching and zooming around a document that was laid out for an 8.5×11 sheet of paper. It's not responsive, it's not searchable by Google, and every update requires a new file.
- A digital menu is a live web page. It loads in a browser, adapts to any screen size, can be linked to a QR code, and can be updated instantly without touching a QR code or a printed piece. It can also include photos, dietary labels, and direct ordering links.
The goal of this process is to take the content from your PDF — your categories, item names, descriptions, and prices — and rebuild it as a proper web-based menu. With the right tool, this takes less time than you might expect.
Step 1: Gather Your Existing Menu Content
Open your PDF and get ready to work from it as a reference. You don't need to copy every word perfectly right now — you're going to be entering content into a menu builder, and you can refine descriptions later. What you need to identify upfront:
- Your menu categories (e.g., Starters, Mains, Desserts, Drinks, Specials)
- Every item name and price
- Any existing item descriptions — even short ones
- Any modifiers or variants (sizes, add-ons, customization options)
- Dietary or allergen flags (vegan, gluten-free, contains nuts, etc.)
If your PDF is well-organized, this inventory takes about 10–15 minutes for a typical 30–50 item menu. If your PDF is more of a design-heavy file where text is embedded in images, you may need to type items out manually — but that's still faster than building a menu from scratch.
Pro tip: If your PDF has selectable text, you can copy sections directly into a notes app to use as a reference while you build. Don't try to paste formatted text directly into a menu builder — it rarely comes through cleanly.
Step 2: Choose a Digital Menu Platform
You need a platform designed specifically for restaurant menus — not a generic website builder. The difference matters. A restaurant-specific tool will have the right structure (categories, items, prices, dietary tags), will produce a mobile-optimized result by default, and will make it easy to generate a QR code that links directly to your menu.
Look for a platform that offers:
- A simple item editor (no coding required)
- Mobile-first menu display
- Instant QR code generation tied to your menu URL
- The ability to update items without changing the QR code
- Optional photo uploads per item
- Dietary and allergen label support
MenuHoster's online menu maker is built exactly for this use case. You can create your menu, organize it by category, add photos and labels, and publish it to a live URL — all without touching a line of code. There are also pre-built menu templates that give you a polished starting point so you're not designing from a blank page.
Step 3: Build Your Menu Category by Category
Once you're in your menu builder, work through your PDF category by category. This is the most time-intensive part of the process, but it's straightforward. Here's a practical approach:
- Create each category first. Set up all your section headers before adding items. This gives you a clear structure to work within.
- Add items one at a time. For each item, enter the name, price, and a short description. Even a one-sentence description helps customers make decisions and makes your menu feel professional.
- Add dietary labels as you go. Most platforms let you tag items as vegetarian, vegan, gluten-free, spicy, or contains allergens. Tag as you enter — it's much harder to go back and do this in bulk later.
- Add photos where you have them. You don't need photos for every item, but adding them to your top sellers or most visually appealing dishes makes a real difference. Even a good smartphone photo works.
For a menu with 40–50 items organized into 5–6 categories, most restaurant owners complete this step in 30–60 minutes on their first pass.
Step 4: Improve on Your PDF While You're at It
Converting your menu is a natural moment to fix things that were always a little off in the printed version. Common improvements to make during the conversion:
Rewrite weak descriptions
A lot of printed menus have item names with no description, or descriptions that are purely ingredient lists ("chicken, lemon, capers"). While you're entering items, take an extra 30 seconds per item to write a one-sentence description that evokes flavor or context. "Pan-seared chicken breast with a bright lemon-caper pan sauce, served over roasted fingerling potatoes" is more compelling than "chicken lemon capers."
Fix pricing inconsistencies
Printed menus often have pricing that hasn't kept up with costs because reprinting is a hassle. Now that you're on a digital platform, updating a price takes seconds — so this is a good time to audit and correct anything that's been wrong for a while.
Reorganize categories if needed
If your printed menu had categories that never quite made sense (a "Chef's Selections" section mixed in with appetizers, for example), now is the time to clean that up. Digital menus are easier to navigate when the category structure is logical and consistent.
For a deeper look at how category structure affects ordering behavior, see our guide on how to structure menu categories so guests order more.
Step 5: Publish and Generate Your QR Code
Once your menu is entered and you've done a quick proofread, publish it. Your menu is now live at a real URL. The next step is generating a QR code that points to that URL.
With MenuHoster, the QR code is generated automatically and is permanently tied to your menu URL. This means you can update your menu — change prices, add seasonal items, remove dishes that are 86'd — and the QR code never changes. Print it once, and it stays current forever.
You can learn more about this process on our dedicated PDF to QR code menu page, which walks through how to go from a static PDF to a scannable, live menu.
Once you have your QR code:
- Print it on table tents or stickers for dine-in use
- Add it to your front door or window
- Include it on takeout bags and packaging
- Add it to your Google Business Profile so customers can access your menu before they even walk in
Step 6: Replace the PDF Everywhere It Lives
This step is easy to skip, but it matters. Go through every place your old PDF menu was being used and replace it with the link to your new digital menu:
- Your website: Replace any "Download our menu" PDF links with a direct link to your live menu URL, or embed the menu on your site.
- Google Business Profile: Update the menu URL in your profile settings.
- Yelp, TripAdvisor, OpenTable: Most platforms let you add a menu URL. Use your new digital menu link instead of uploading a PDF.
- Social media bios: If you've linked to a PDF in your Instagram or Facebook bio, update it.
- Email signature: If you've ever included a menu PDF as an attachment, switch to linking to the live URL instead.
The goal is to make sure that anywhere a customer might look for your menu, they're getting the live, always-current digital version — not a PDF that might be months out of date.
Ongoing Maintenance: The Real Advantage of Going Digital
Here's what changes once you've made this switch: updating your menu is no longer a project. It's a two-minute task.
Need to raise the price of your burger by $1? Log in, find the item, change the number, save. Done. Want to add a weekend special? Add the item, set a description, publish. Want to mark something as sold out temporarily? Toggle it off. No PDF re-export, no email to the printer, no waiting for new menus to arrive.
This is especially valuable for restaurants that change their menu seasonally, run daily specials, or deal with supply chain fluctuations that affect pricing. The friction of updating a printed menu often means restaurants operate with inaccurate menus for weeks or months. A digital menu eliminates that problem entirely.
For more on how often to update your menu and why it matters, see our guide on how often you should update your restaurant menu and why.
What About Keeping a Printed Menu Too?
Going digital doesn't mean you have to eliminate printed menus entirely. Many restaurants run both — a digital menu for QR code access, Google, and online discovery, plus a smaller printed menu (or a single laminated card) for guests who prefer it.
The key difference is that your printed menu no longer has to be the source of truth. Your digital menu is. When you update the digital version, you can decide whether that change warrants reprinting the physical version. For small price adjustments, most restaurants find they don't need to reprint at all — guests who scan the QR code see the correct price, and the physical menu becomes a secondary reference rather than the primary one.
This approach dramatically reduces printing costs over time. If you're curious about the full financial picture, our digital vs. printed menu cost comparison breaks down the numbers in detail.
Frequently Asked Questions
Can I just upload my PDF and use it as-is instead of rebuilding it?
Technically yes — some platforms let you host a PDF at a URL and link a QR code to it. But this is a poor customer experience. PDFs are not designed for mobile viewing, they load slowly, they're not indexed properly by Google, and you still have to re-upload a new file every time something changes. Taking the extra time to build a proper digital menu is worth it.
How long does it actually take to convert a typical restaurant menu?
For a menu with 40–60 items across 5–6 categories, most restaurant owners complete the full conversion — including entering items, adding descriptions, and publishing — in under 90 minutes. If you have photos ready to upload, add another 20–30 minutes. The QR code is generated instantly once you publish.
Will my QR code break if I update my menu later?
No — as long as you're using a platform that provides a dynamic or hosted QR code (like MenuHoster), the code always points to your menu's permanent URL. When you update the menu, the URL stays the same and the QR code continues to work. This is one of the most important reasons to use a dedicated menu platform rather than a generic QR code generator linked to a PDF file.
Do I need professional food photos to make a digital menu look good?
No. Clean smartphone photos taken in good natural light work well for most menu items. That said, you don't need photos for every item — even adding photos to your top 5–10 sellers makes a noticeable difference. A well-organized digital menu with no photos still looks far more professional than a PDF on a phone screen.
What if my menu changes frequently — is a digital menu still practical?
A digital menu is actually more practical for frequently changing menus. Updating a digital menu takes seconds and requires no reprinting. Restaurants with daily specials, seasonal rotations, or frequent price adjustments benefit the most from going digital, because the cost and friction of keeping a printed menu current is eliminated entirely.
Ready to stop sending customers a PDF and start giving them a real digital menu experience? MenuHoster's online menu maker lets you build, publish, and share a professional digital menu in minutes — no design skills or developer required. Check out our pricing page to get started for free today.
MenuHoster Team
Helping restaurants go digital