How to Create Separate Lunch, Dinner, and Brunch Menus
Updated:
Why Separate Menus Actually Matter
Running one generic menu across every daypart is one of the quietest profit leaks in the restaurant business. Your lunch crowd wants fast, affordable options they can eat in 45 minutes. Your dinner guests are in a different mindset—they're willing to linger, spend more, and order an extra round. Brunch sits somewhere in between: relaxed, celebratory, and with a distinct set of expectations around eggs, cocktails, and comfort food.
When you hand the same menu to all three audiences, you're not just confusing guests—you're leaving money on the table and making your kitchen's job harder. A well-structured daypart strategy lets you control food costs more precisely, reduce prep waste, and give each guest exactly the experience they came for.
The good news is that managing separate menus no longer requires three different print runs, a stack of laminated inserts, or a full-time graphic designer on call. Digital menus have made it genuinely easy to maintain distinct menus for each service period—and to switch between them without reprinting a single page.
Plan Your Daypart Strategy First
Before you open a menu builder or start writing item descriptions, get clear on the strategic differences between each menu. This is a planning exercise, not a design one.
Define each daypart's goals
Ask yourself what you want each menu to accomplish:
- Lunch: High table turnover, accessible price points, items that can be prepared and served quickly. Think salads, sandwiches, bowls, and lighter mains. Portion sizes are usually smaller, which also means lower food costs.
- Dinner: Longer dwell time, higher check averages, more elaborate preparations. This is where you showcase your kitchen's full range—multi-course options, premium proteins, composed dishes, and a strong beverage program.
- Brunch: A hybrid service that rewards indulgence. Egg-based dishes, shareable plates, bottomless options (if you offer them), and brunch cocktails like mimosas and Bloody Marys. The pace is relaxed, but the upsell potential is high.
Map out the overlap—and where it ends
You don't need three completely different menus from scratch. Most restaurants share 20–40% of items across dayparts—a house salad, a burger, a pasta dish. Identify which items genuinely work across services and which ones belong exclusively to one period. Items that slow down your lunch line or feel out of place at brunch should stay off those menus, even if they're popular at dinner.
Set your service windows clearly
Decide exactly when each menu is active. Ambiguity here causes real friction—for your staff and your guests. Common structures:
- Lunch: 11:00 AM – 3:00 PM (Mon–Fri)
- Brunch: 10:00 AM – 3:00 PM (Sat–Sun)
- Dinner: 5:00 PM – close (daily)
If you use a digital menu platform, you may be able to schedule menus to activate automatically at these times—more on that below.
How to Structure Each Menu
Once your strategy is clear, the structure of each menu should follow from it. Good menu architecture guides the guest toward the decisions you want them to make. For a deeper look at category logic, see our guide on restaurant menu best practices.
Lunch menu structure
Keep it lean. Guests at lunch often have limited time and don't want to wade through a 12-page document. Aim for:
- 3–4 categories maximum (e.g., Starters, Mains, Sides, Drinks)
- 5–8 items per category
- Clear, fast-reading descriptions—this is not the place for lengthy prose
- Visible pricing with lunch-specific value signals (combo deals, daily specials)
Dinner menu structure
You have more room to breathe here. Guests are in discovery mode. A typical structure:
- Cocktails / Aperitifs
- Starters / Small Plates
- Salads / Soups
- Mains (with sub-sections by protein or style if needed)
- Sides
- Desserts
- Wine / Beer / Non-Alcoholic Beverages
Dinner menus can afford richer item descriptions that highlight sourcing, preparation technique, and flavor profiles. This is where good copywriting pays off—a well-built online menu gives you room to tell that story without cluttering the layout.
Brunch menu structure
Brunch has its own rhythm. Guests often arrive in groups and order at a relaxed pace. Structure it to encourage sharing and add-ons:
- Drinks first (this is the one meal where people order cocktails before food)
- Shareable starters or pastry baskets
- Egg dishes and savory mains
- Sweet plates (pancakes, French toast, waffles)
- Sides
- Coffee and non-alcoholic drinks at the end
If you offer a bottomless brunch package, make it prominent and describe exactly what's included. Ambiguity about bottomless deals frustrates both guests and servers.
Building Your Menus Digitally
This is where the operational payoff becomes real. Managing three separate printed menus is expensive and slow. A price change, a sold-out item, or a seasonal swap means reprinting—and in the meantime, your staff is verbally correcting guests mid-service.
Digital menus eliminate that friction entirely. With a platform like MenuHoster, you can build each daypart menu as a separate menu, update items in real time, and share each menu via its own QR code or link. No reprinting. No laminated correction strips. No awkward "sorry, we're out of that" conversations after the guest has already decided.
Create one menu per daypart
The cleanest approach is to build three distinct menus in your dashboard—one for lunch, one for dinner, one for brunch. This gives you full control over each menu's categories, items, descriptions, and pricing without any overlap confusion. You can duplicate shared items across menus rather than recreating them from scratch, which saves time.
Use separate QR codes for each service
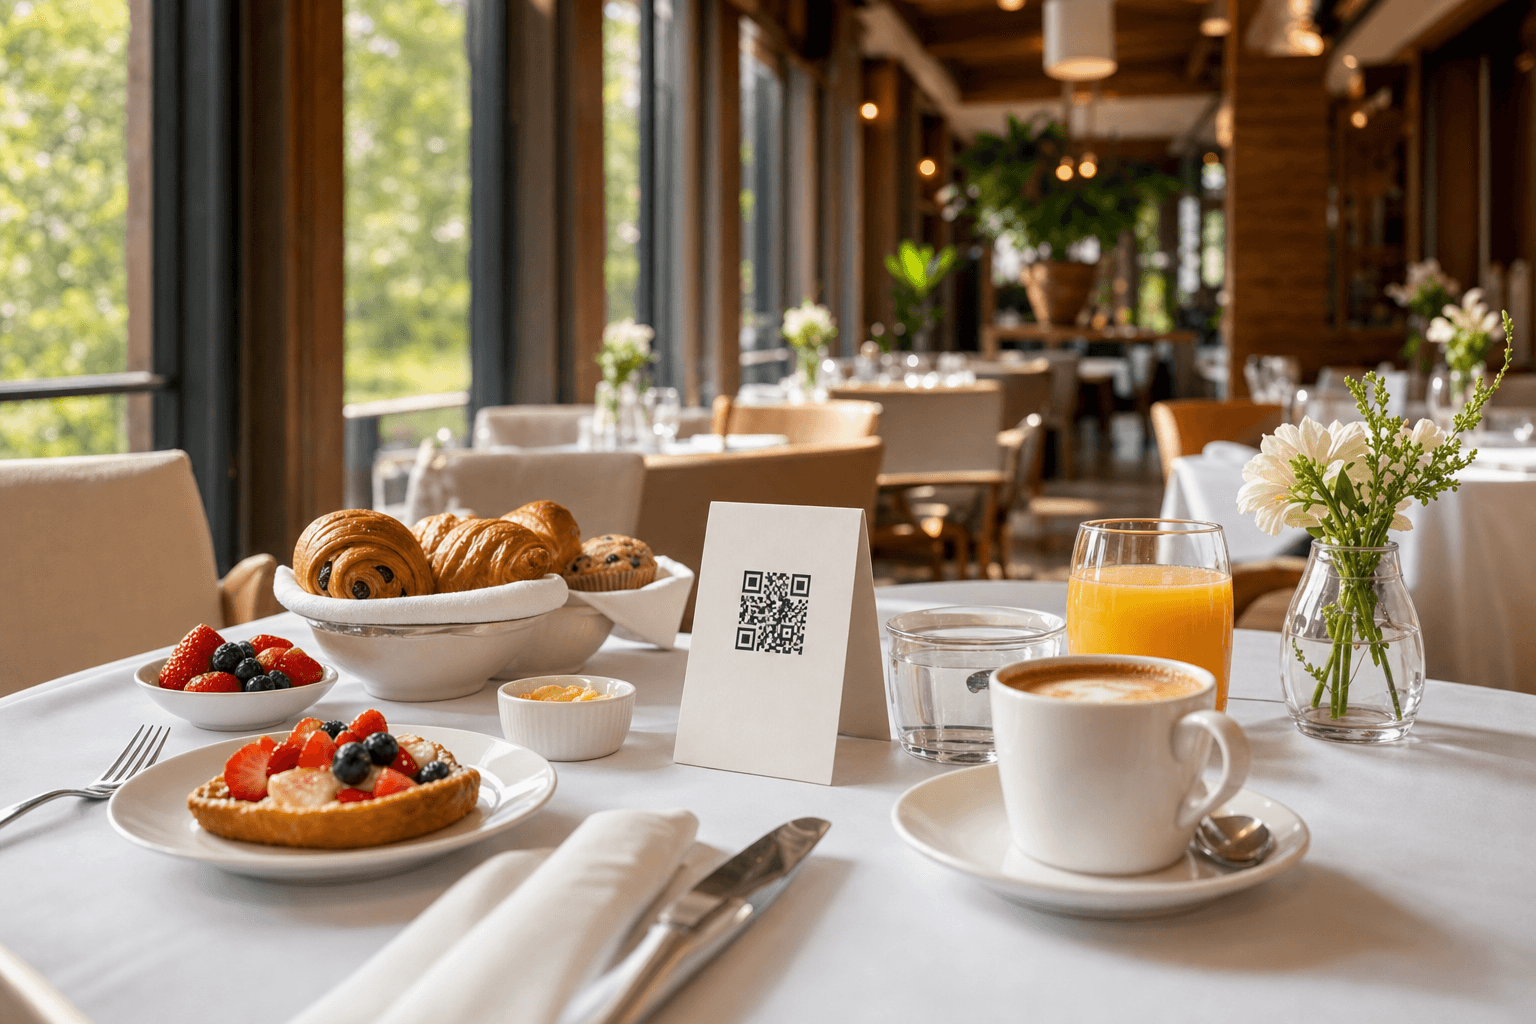
Print or display different QR codes depending on the service period. Your lunch table tents show the lunch QR code; your dinner setup swaps in the dinner code. This sounds like extra work, but in practice it's a one-time setup. You print each code once and store the ones not in use. For a step-by-step on the QR side of things, see how to convert your menu into a QR code.
Link the right menu from your Google Business Profile and website
Many restaurants link a single menu URL everywhere. Consider linking your dinner menu as the default (since it's your most complete representation), and adding a note on your website that separate lunch and brunch menus are available. Some platforms let you create a landing page that lists all active menus so guests can choose the right one themselves.
Pricing Across Dayparts
Pricing the same dish differently across dayparts is common and accepted—guests understand that a burger at lunch costs less than the same burger at dinner because the dinner version comes with a different set of expectations and service context. What matters is that the pricing logic is visible and consistent.
- Lunch pricing: Aim for 15–25% lower than the dinner equivalent. Smaller portions, faster service, and lower labor cost justify this. Combo pricing (entrée + drink + side) is particularly effective at lunch.
- Dinner pricing: Full price, premium presentation. Don't be shy about charging appropriately for the experience you're delivering.
- Brunch pricing: Typically mid-range. Brunch cocktails (especially bottomless packages) carry strong margins, so you can afford to price egg dishes competitively while making margin on beverages.
When you update prices, do it in your digital menu immediately. Outdated prices on a printed menu—or worse, a PDF someone found on Google—erode trust fast.
Communicating Your Menus to Guests
Having three great menus means nothing if guests don't know which one applies when they arrive. Here's how to communicate clearly:
In-restaurant signage
Your host stand or entrance should display your current service hours for each menu. A simple sign—"Brunch served Sat–Sun 10 AM–3 PM | Dinner served nightly from 5 PM"—sets expectations before guests sit down. QR code table tents should reflect the active menu for that service period.
On your website and social media
List all three menus with their service hours on your website's menu page. If you're running a weekend brunch, promote it explicitly on Instagram and in any email marketing—don't assume guests know you offer it. A post showing your brunch cocktail menu the Thursday before a weekend is a simple, effective reminder.
On Google and third-party platforms
Google Business Profile allows you to add a menu link. Make sure the link you provide is current and, if possible, points to a page that explains your different service menus. Outdated or incomplete information on Google is one of the most common sources of guest frustration before they even walk in the door.
Keeping Each Menu Updated Without Losing Your Mind
The operational discipline of running multiple menus comes down to a simple habit: treat your digital menus like a living document, not a one-time project. Schedule a regular review—weekly for specials, monthly for prices and availability, seasonally for major changes.
A few practical tips:
- Assign one person (a manager or head chef) as the menu owner for each daypart. They're responsible for keeping it accurate.
- When a dish is 86'd, update the digital menu immediately. This prevents servers from having to apologize and guests from being disappointed after they've already decided.
- Use seasonal rotations as an opportunity to refresh all three menus at once, rather than doing piecemeal updates throughout the season. Our guide on seasonal menu planning covers this in detail.
- Keep a simple changelog (even a shared Google Doc) so your team knows what changed and when.
Common Mistakes to Avoid
Restaurants that struggle with multiple menus usually run into one of these problems:
- Too much overlap without differentiation. If your lunch and dinner menus are 80% identical with slightly different prices, you're not giving guests a reason to come back for a different experience. Be intentional about what makes each menu distinct.
- Inconsistent QR codes. Leaving dinner QR codes on the table during brunch service—or vice versa—confuses guests and makes your operation look disorganized. Build a simple table-setup checklist that includes swapping the correct menu display.
- Forgetting to update all three menus when something changes. If you update a shared item (say, a house salad that appears on all three menus), make sure you update it in every menu, not just one.
- Overcomplicating brunch. Brunch menus that try to be everything—full breakfast, full lunch, full cocktail program, desserts, kids' menu—become unwieldy. Curate ruthlessly. A focused brunch menu with 20 well-chosen items outperforms a sprawling 50-item document every time.
Frequently Asked Questions
Do I need a different QR code for each daypart menu?
Technically, yes—each menu will have its own URL, so each needs its own QR code. However, this is a one-time setup. You print each code once, and staff simply puts out the correct table display for the active service. Some platforms also offer a single landing page where guests can select the menu they need, which means one QR code can cover all three.
Can I share items across multiple menus without duplicating work?
Most digital menu platforms let you duplicate items across menus. You create the item once, then copy it to the relevant menus. When you need to update it (a price change, a new description), you'll need to update it in each menu where it appears—so it's worth keeping a note of which items are shared.
How do I handle a guest who arrives between service periods?
Set a clear transition policy and train your staff on it. Common approaches include a 15–30 minute "crossover" window where servers can offer items from either menu, or a simple "we're transitioning to dinner service" explanation. Having this policy written down and communicated to staff prevents inconsistency and guest friction.
Should I charge different prices for the same dish at lunch versus dinner?
Yes, and guests generally accept this. The key is transparency—don't list the same dish at two different prices on the same menu or in a way that feels like a trick. If a burger is $14 at lunch and $18 at dinner, that's fine as long as each menu is clearly labeled with its service period and the dinner version genuinely reflects a higher-value experience (better sides, fuller service, etc.).
What's the easiest way to get started if I currently only have one printed menu?
Start by digitizing your existing menu. From there, you can duplicate it and begin customizing each copy for its daypart—removing items that don't fit, adjusting prices, and adding daypart-specific items. This is much faster than building three menus from scratch, and a tool like MenuHoster's online menu maker makes the process straightforward even if you have no design experience.
Ready to stop managing menus the hard way? MenuHoster lets you build and manage separate lunch, dinner, and brunch menus from one dashboard—update items in seconds, generate QR codes instantly, and give every guest the right menu at the right time. See our pricing and get your first menu live today.
MenuHoster Team
Helping restaurants go digital